# OpenWRT on Xiaomi Router
# Introduction
Detailed write-up including screen-shots and -grabs based on descriptions from @dissent and the OpenWrt wiki page for this router.
Disclaimer
Although the name might imply, this router does not have 3G - or any other 3GPP standardized - radio
Known Issues in OpenWRT 18.06
The release notes of 18.06 mention as known issue Devices using the mt76 wireless driver may experience stability issues on 2.4GHz which might affect this device.
Snapshots in July 2020
The guide is updated to link to the latest OpenWRT development snapshot images. The included uplift to Linux kernel 5.4 has subjectively create a more stable 2.4 GHz WiFi experience on this specific device.
# Naming
The device's literal name translated from Chinese is Xiaomi Router 3G, with Xiaomi being the company's name. There might have been earlier intentions to brand the WiFi router product line as MiWiFi which would explain why Xiaomi is distributing information and firmware updates at miwifi.com.
OpenWrt/LEDE Project label the router's wiki page with Xiaomi Mi WiFi R3G (Mi Wifi Router 3G / MIR3G / MI3G) and the openwrt software uses the profile name mir3g.
Recently Xiaomi has started to distribute one of their router products also in India, where a genuine English language page calls the specific product Mi Router 3C. Based on that it can be assumed Xiaomi's intention is to use Mi Router as the international name for the product line, which will be used throughout this document.
# Preparations
# Xiaomi Account
Create a Xiaomi account here - this account is required to get the ssh binary and the serial number specific root password
# Cable up for maximum convenience
The web interface of Mi Router 3G is only available in Chinese. It can be translated by Chrome's inline translation function. To facilitate this the computer running browser needs to stay connected to the internet. To achieve that the router can be connected with Ethernet to that same machine.
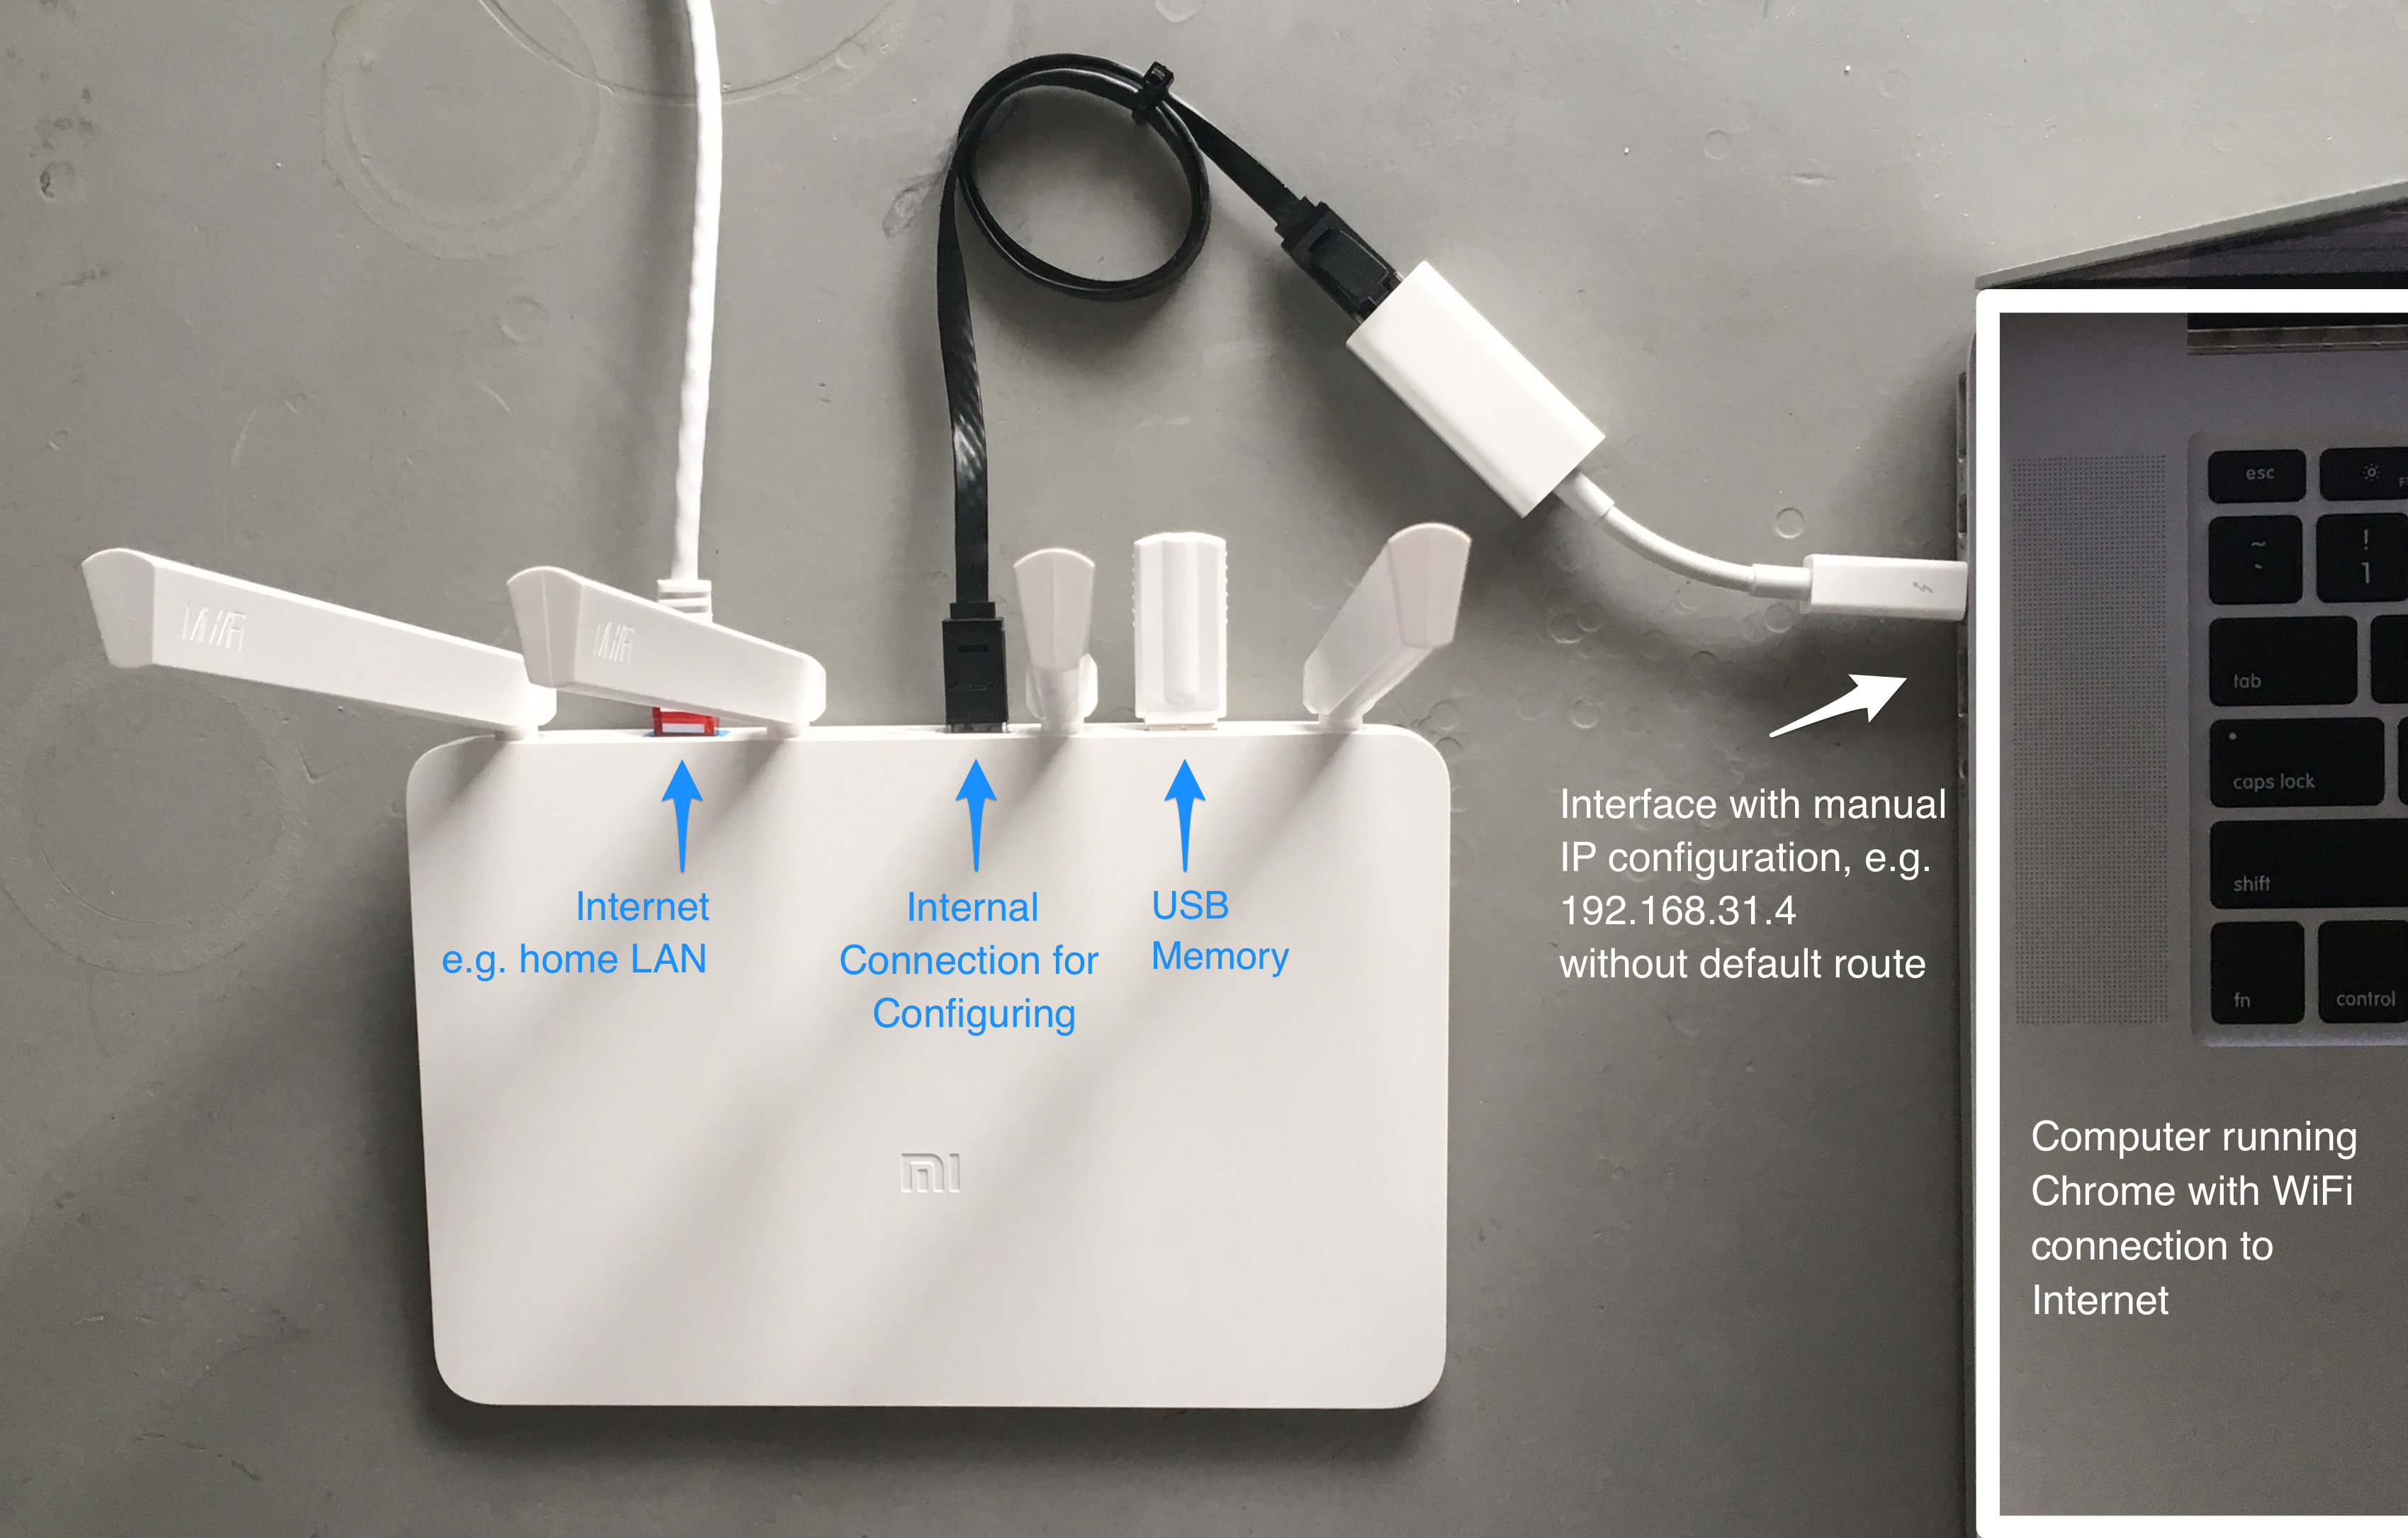
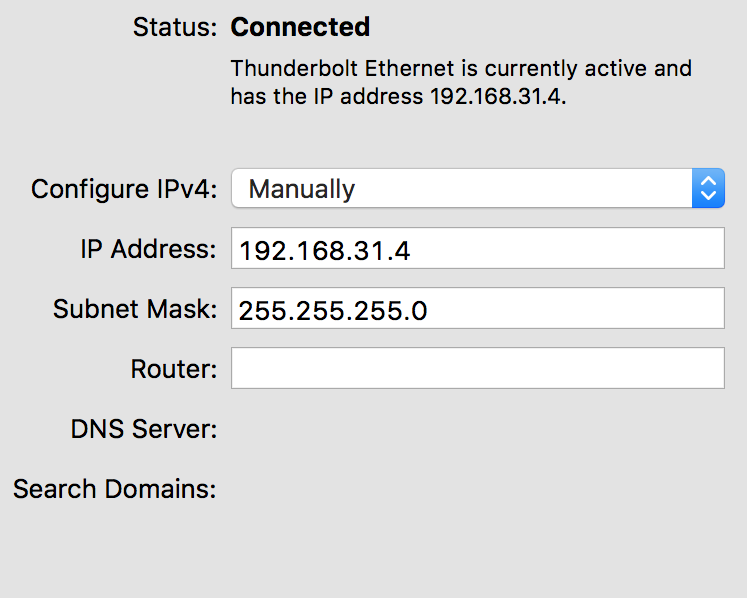
On the interface connecting the router:
- disable DHCP
- configure static addresse between 192.168.31.2 - 192.168.31.254
- configure netmask 255.255.255.0
- no default gateway
# Main Process
# Flash Developer Firmware on Router
Put the developer firmware for Mi Router 3G from here miwifi_r3g_firmware_c2175_2.25.122.bin on a FAT formatted USB flash drive and rename to miwifi.bin.
MiWiFi CDN
As of July 2020, th above link fails to download, because Xiaomi have migrated to a new CDN provider, the old firmware files got migrated but no redirects were setup. This link should yield the sought after firmware.
Plug USB flash drive into router, hold the reset button pressed, and power the router up.
When the yellow LED starts blinking, the flashing process has started and the reset button can be released.
Once the router has finished flashing and has rebooted, indicated by the LED being constant blue, the setup wizard can be reached at 192.168.31.1
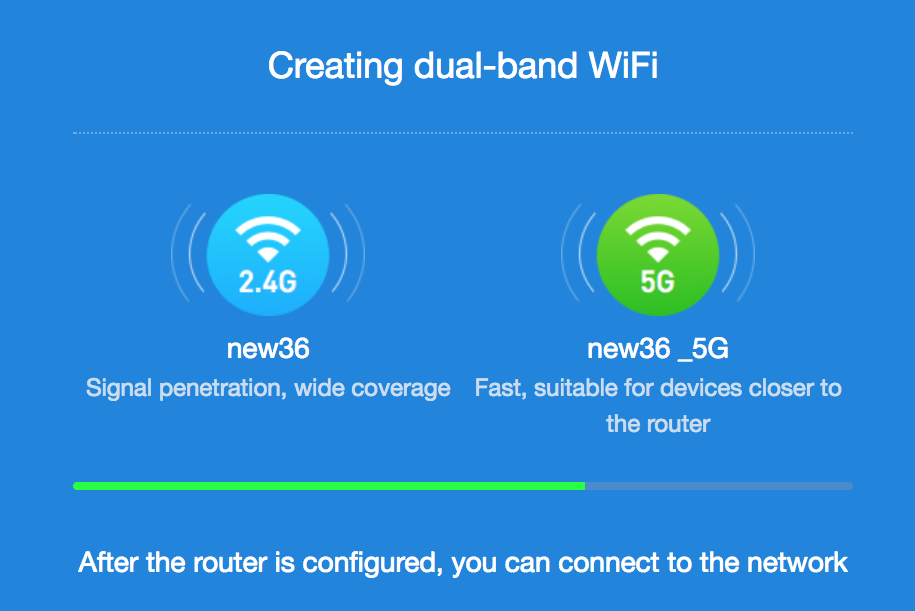
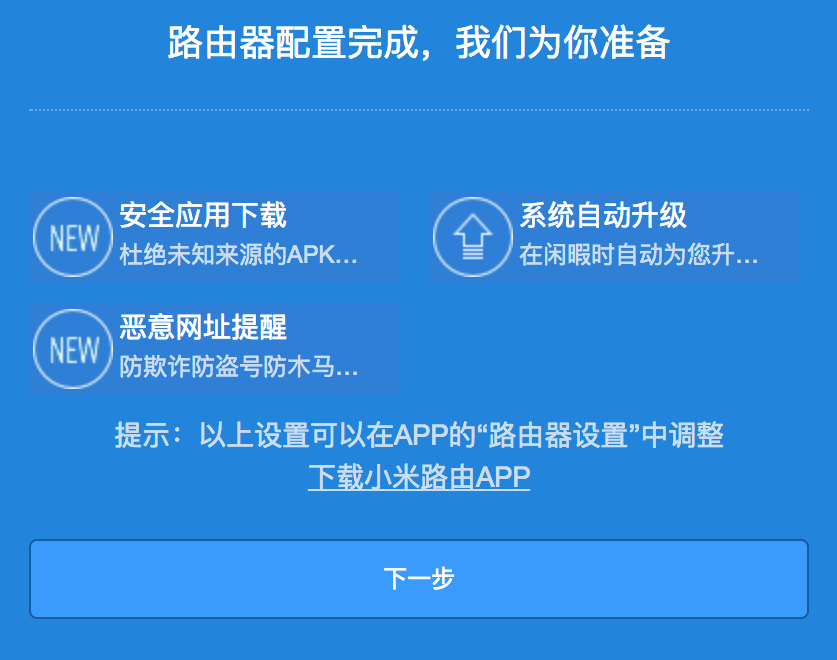
# Router Setup Wizard

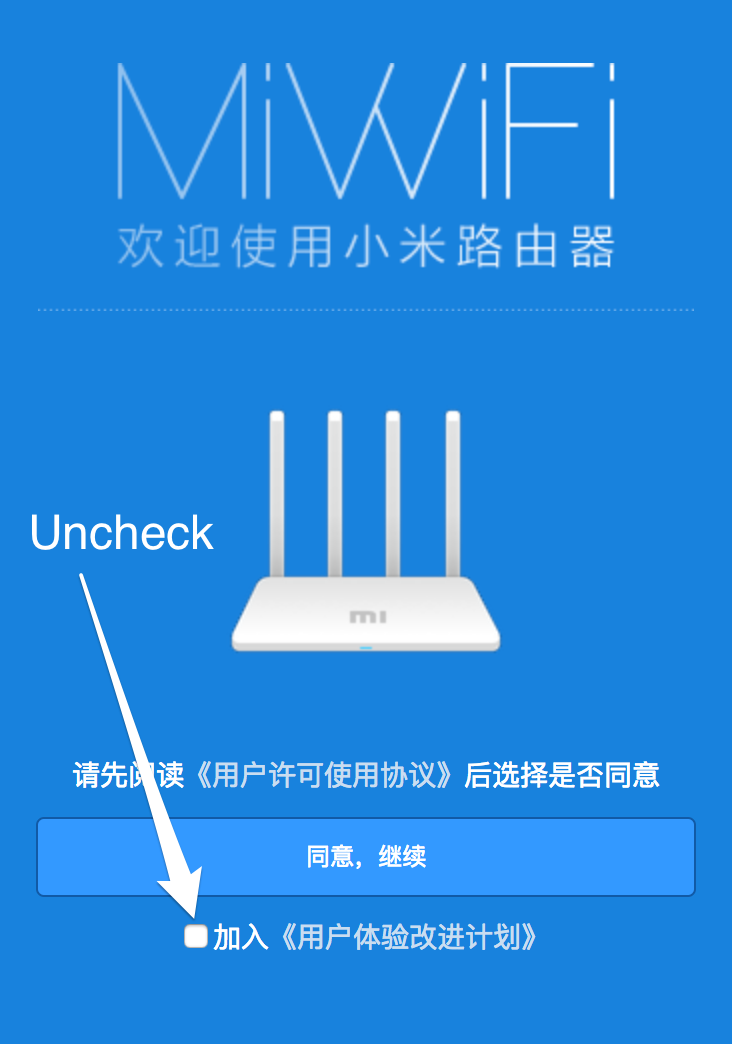 | 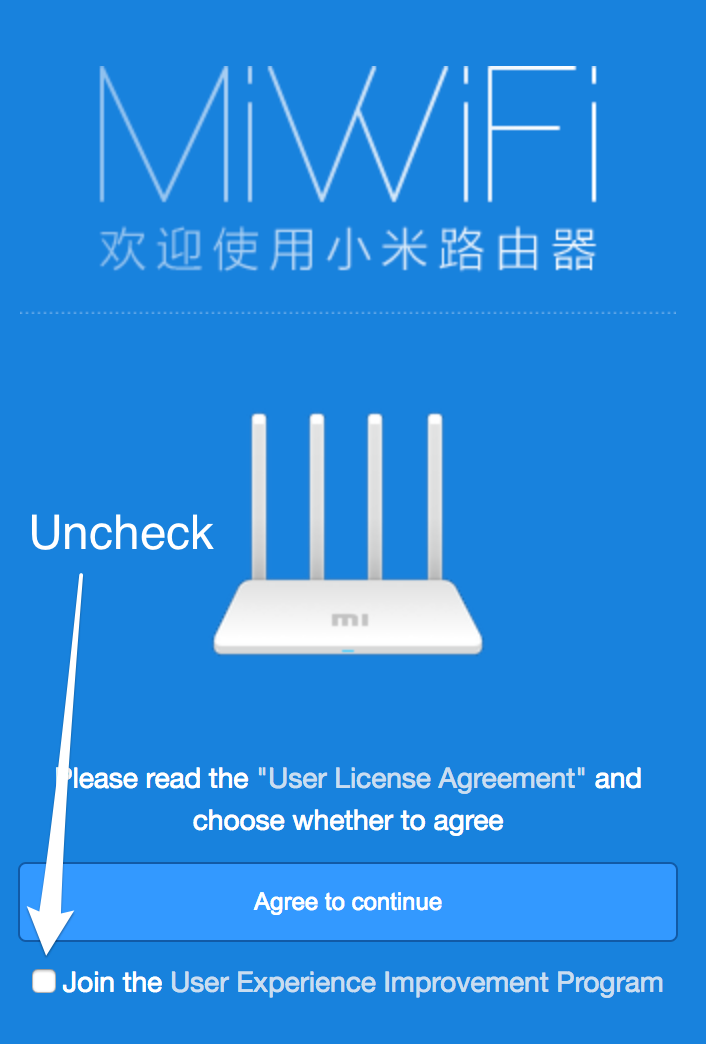 |
|---|---|
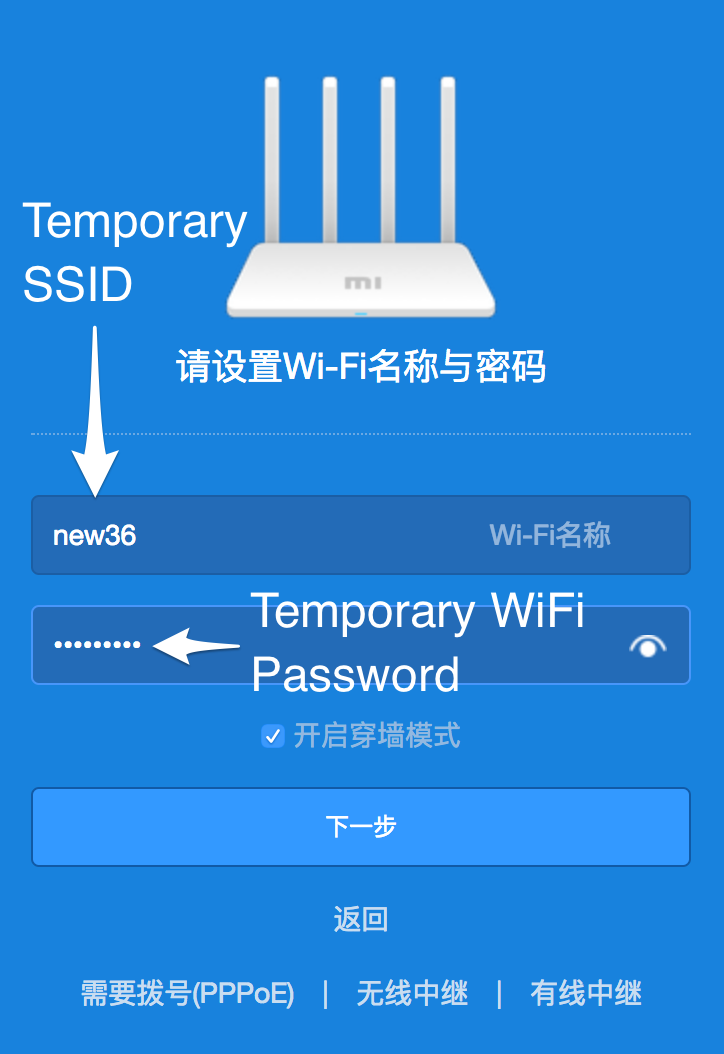 | 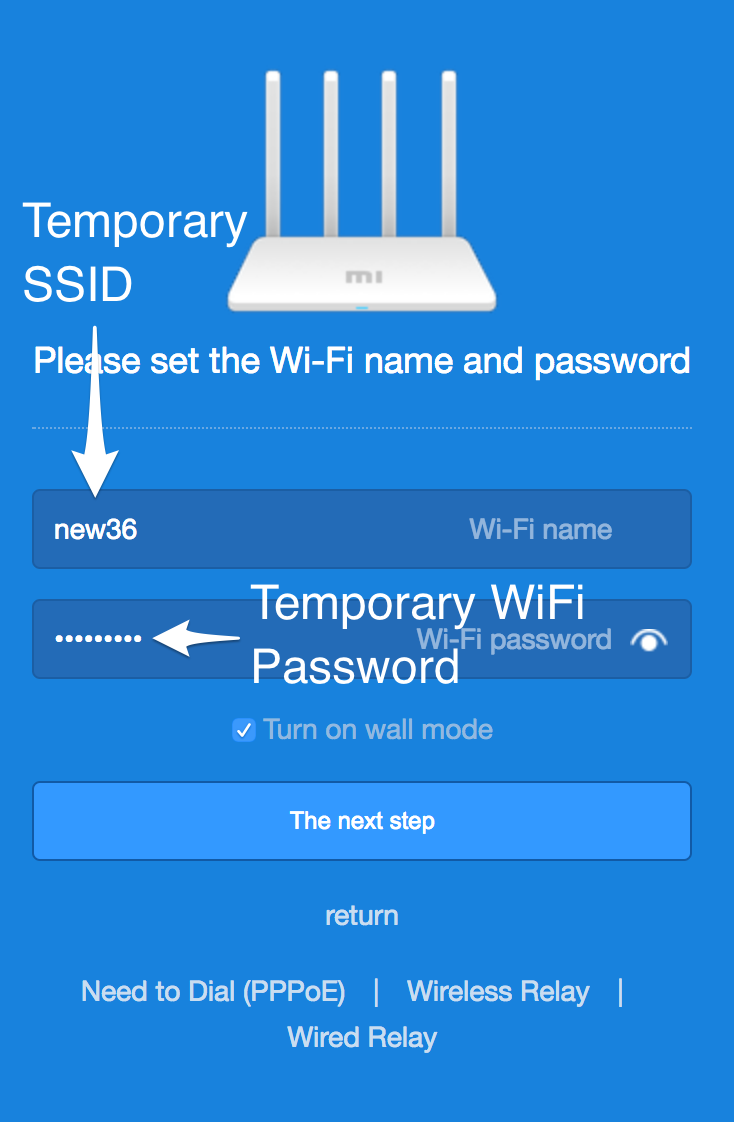 |
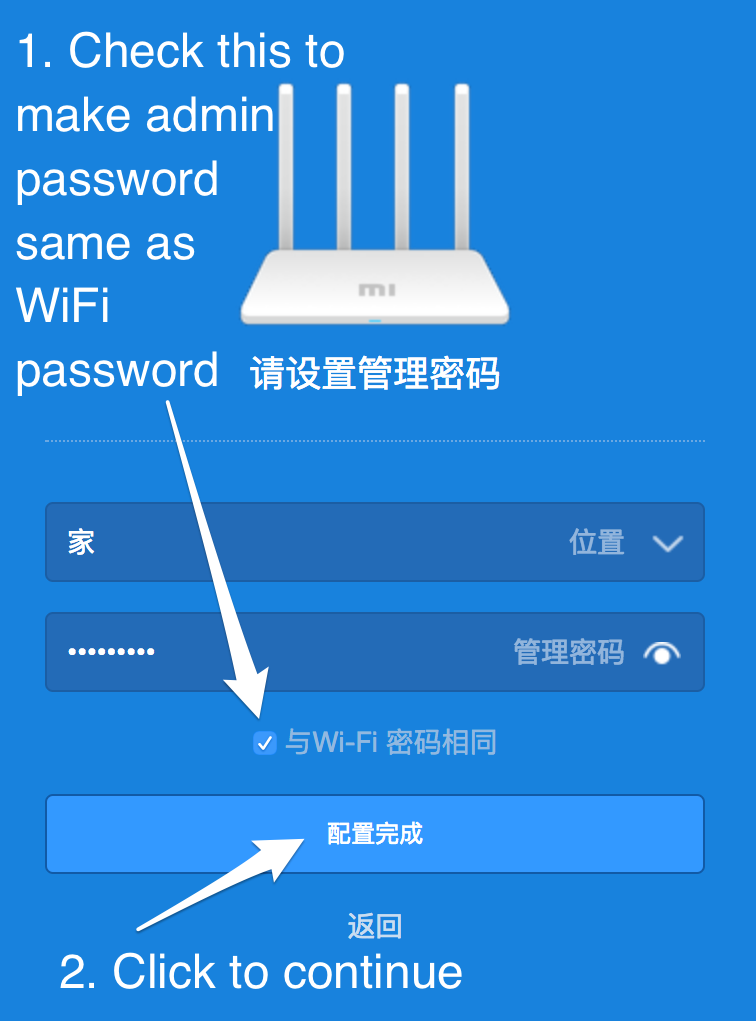 | |
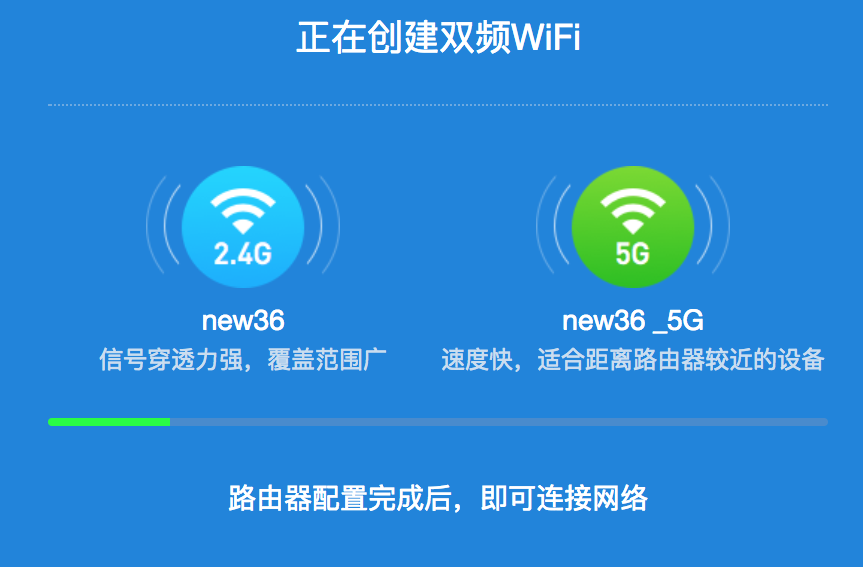 |  |
 | 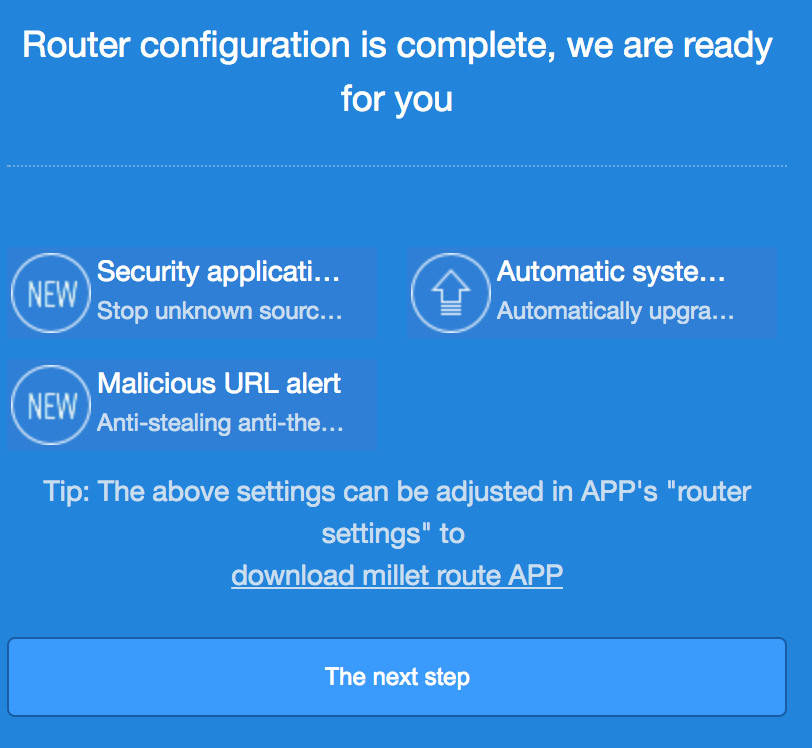 |
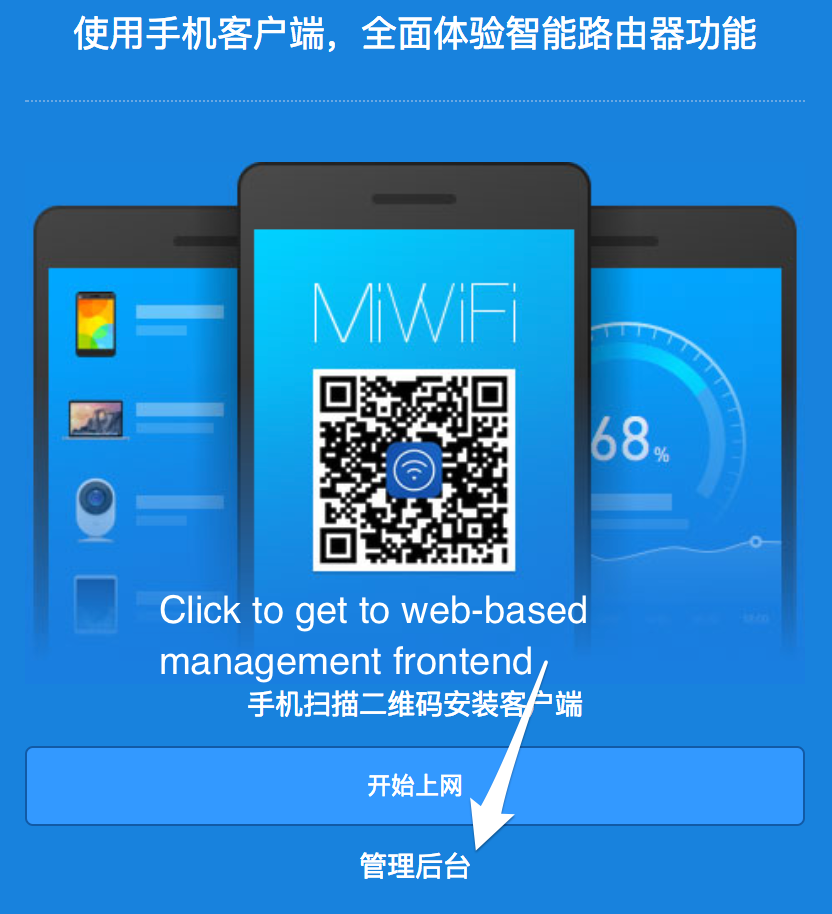 |  |
# Pairing Router with Xiaomi Service
This step is run on an Android or iOS device.
Install the Mi WiFi app for Google Play Store for Android or for iOS from Apples's App store
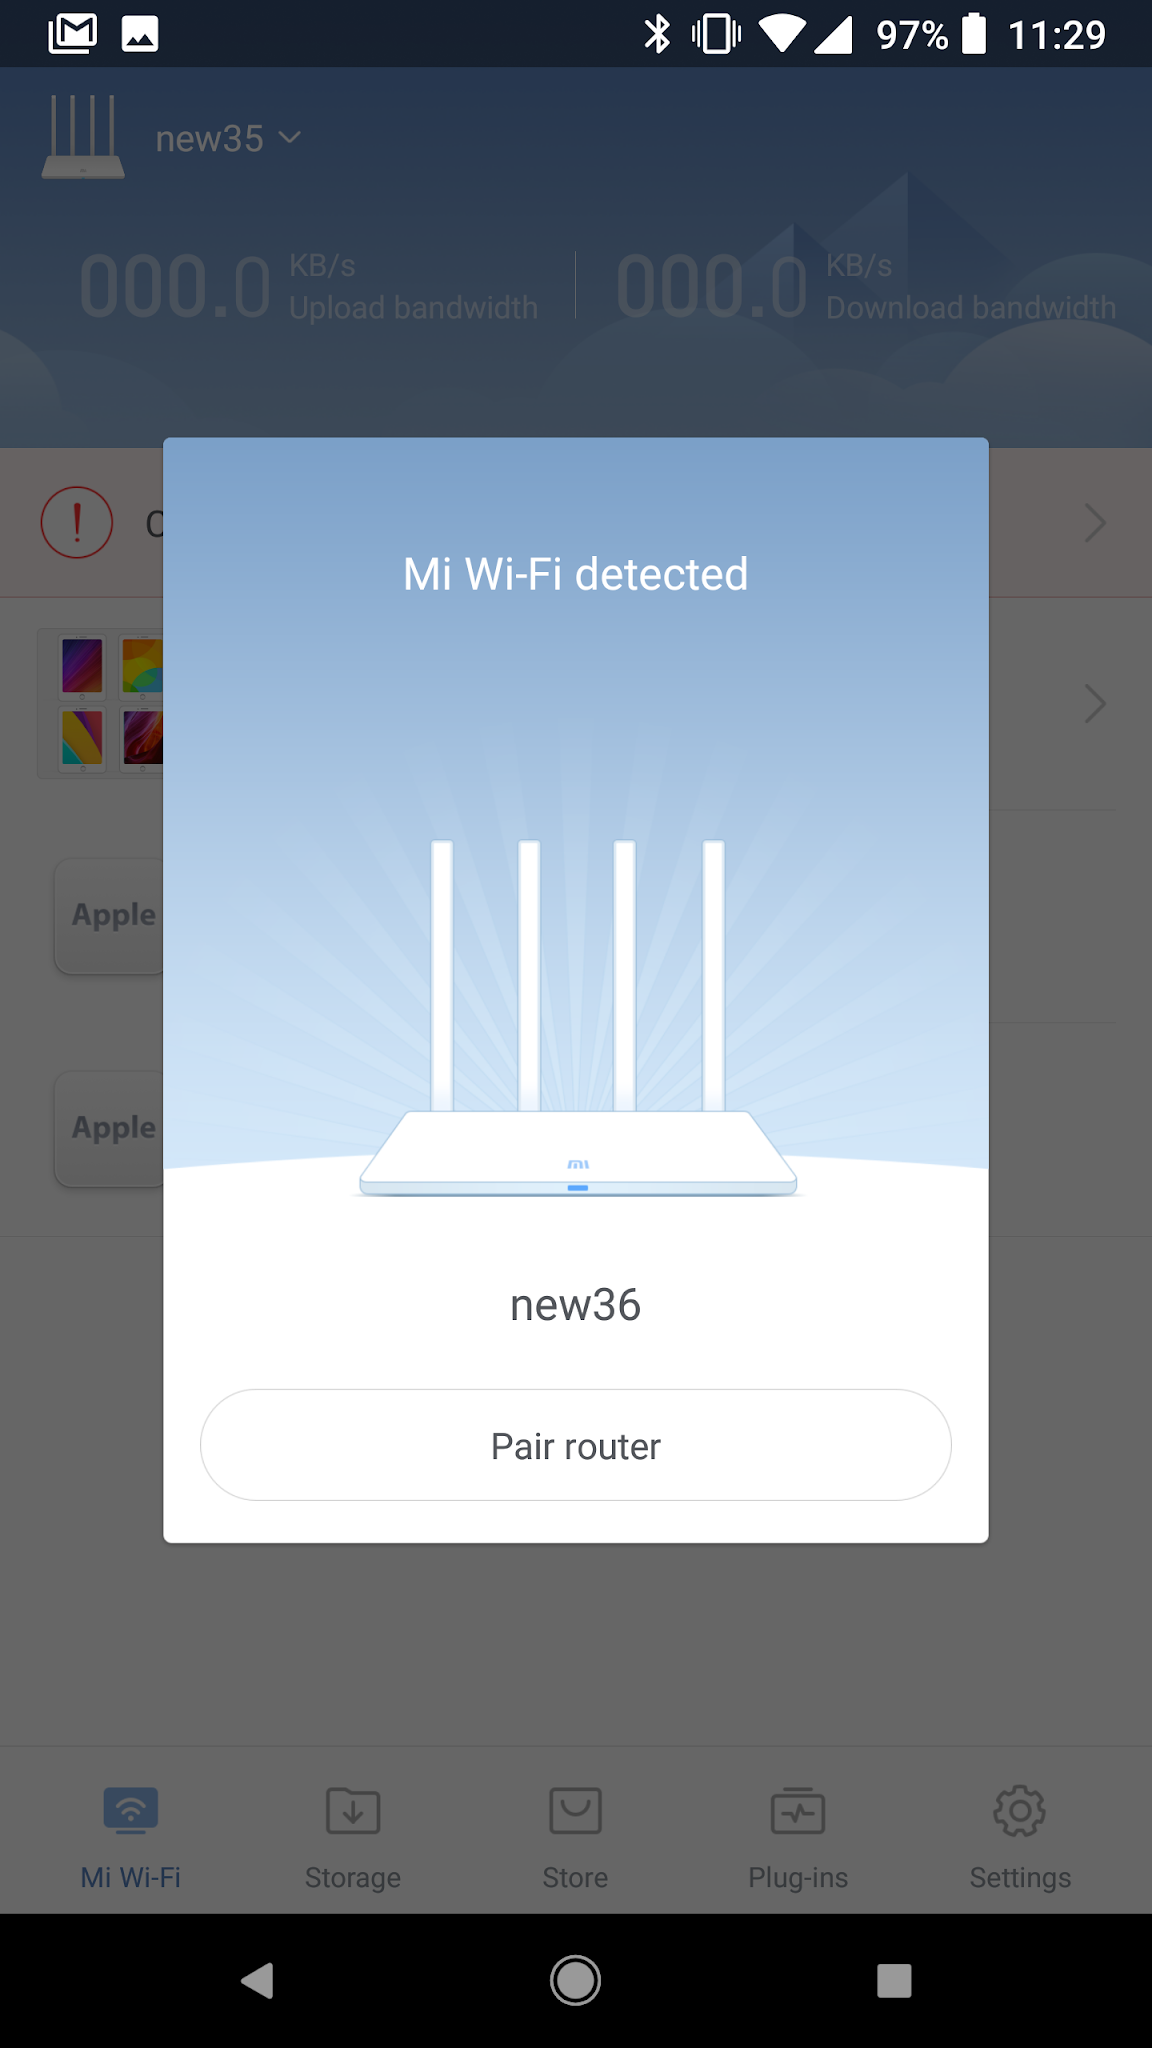
Start Up Mi WiFi app and login with the Xiaomi account created earlier:
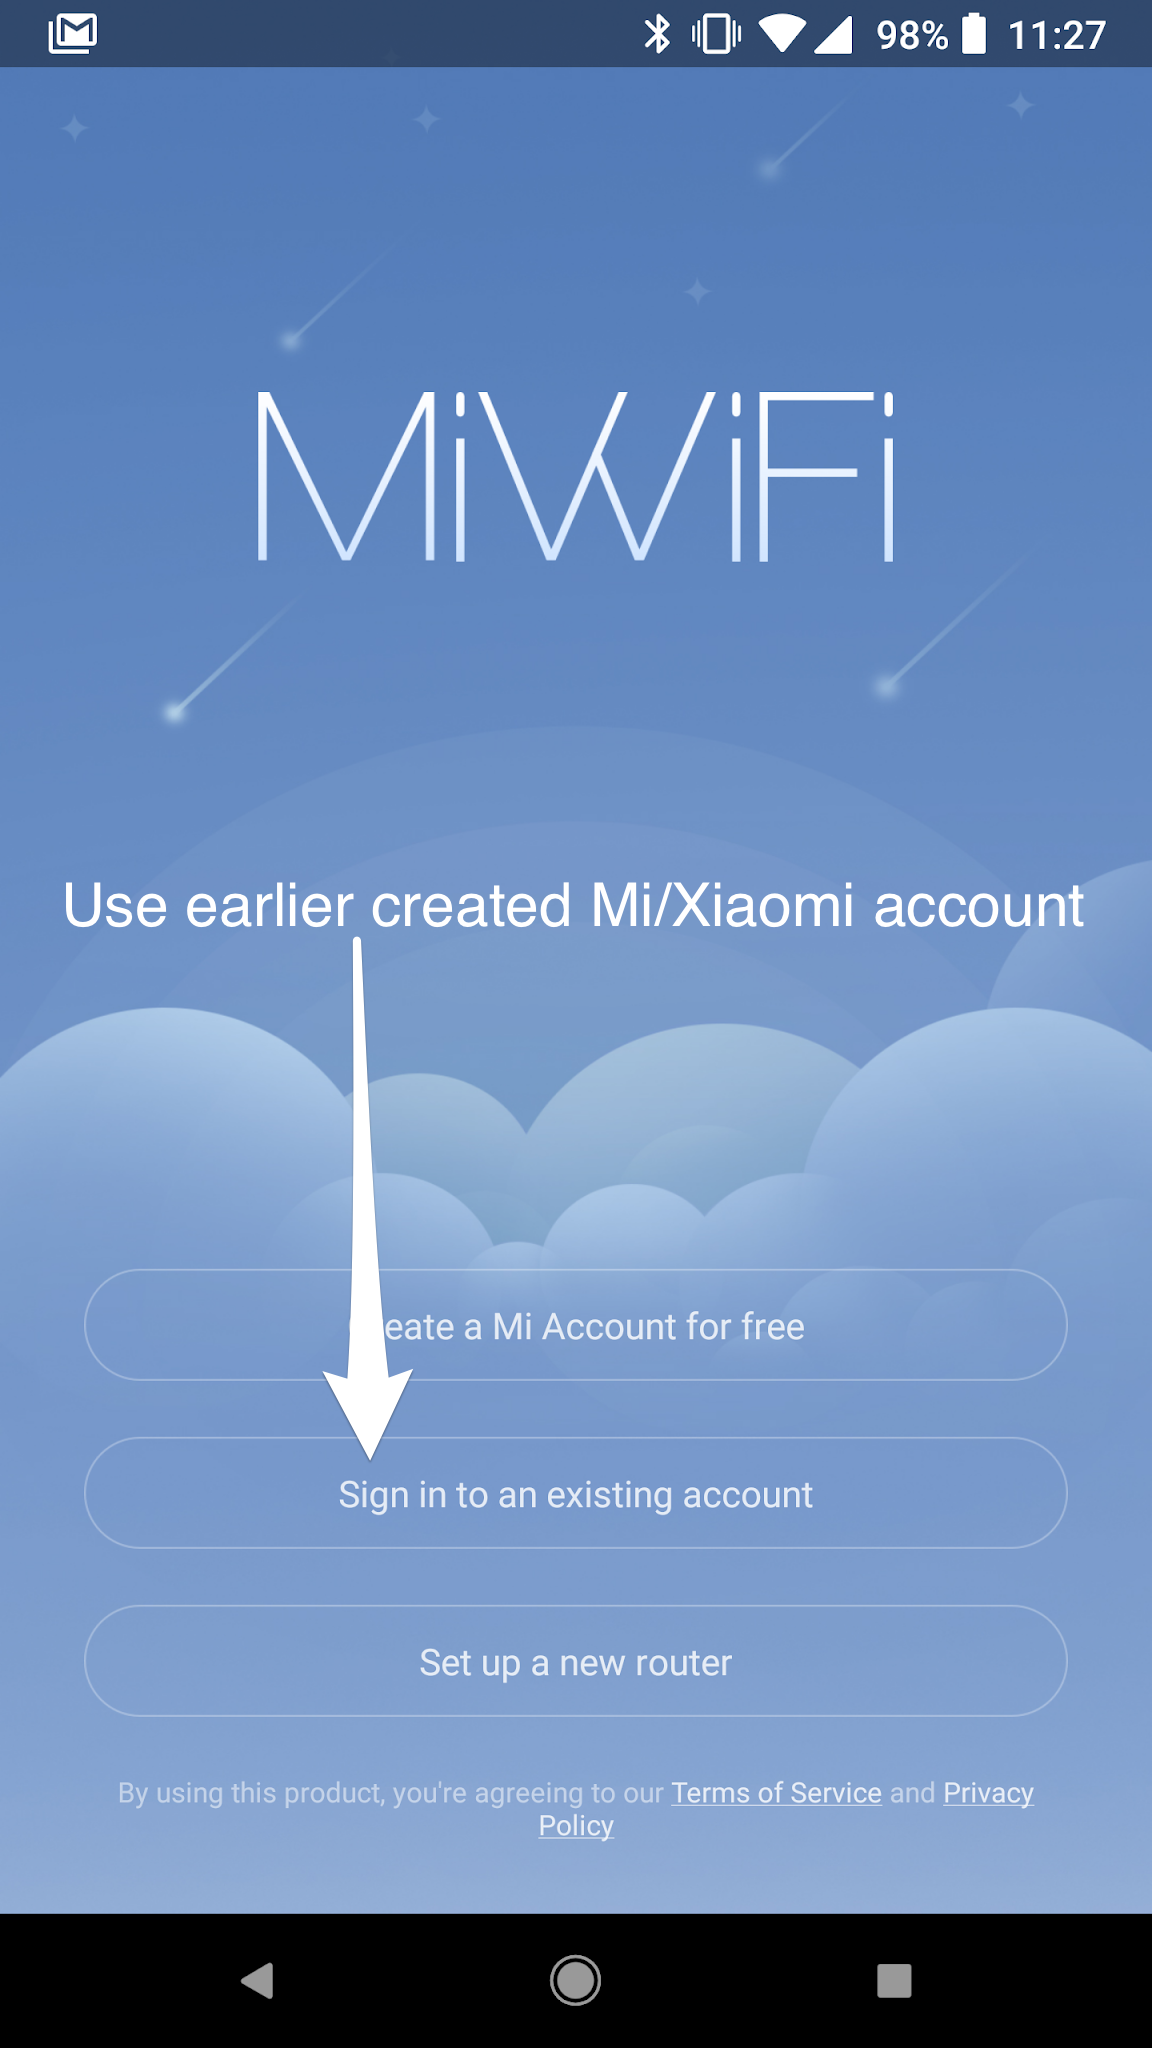 | 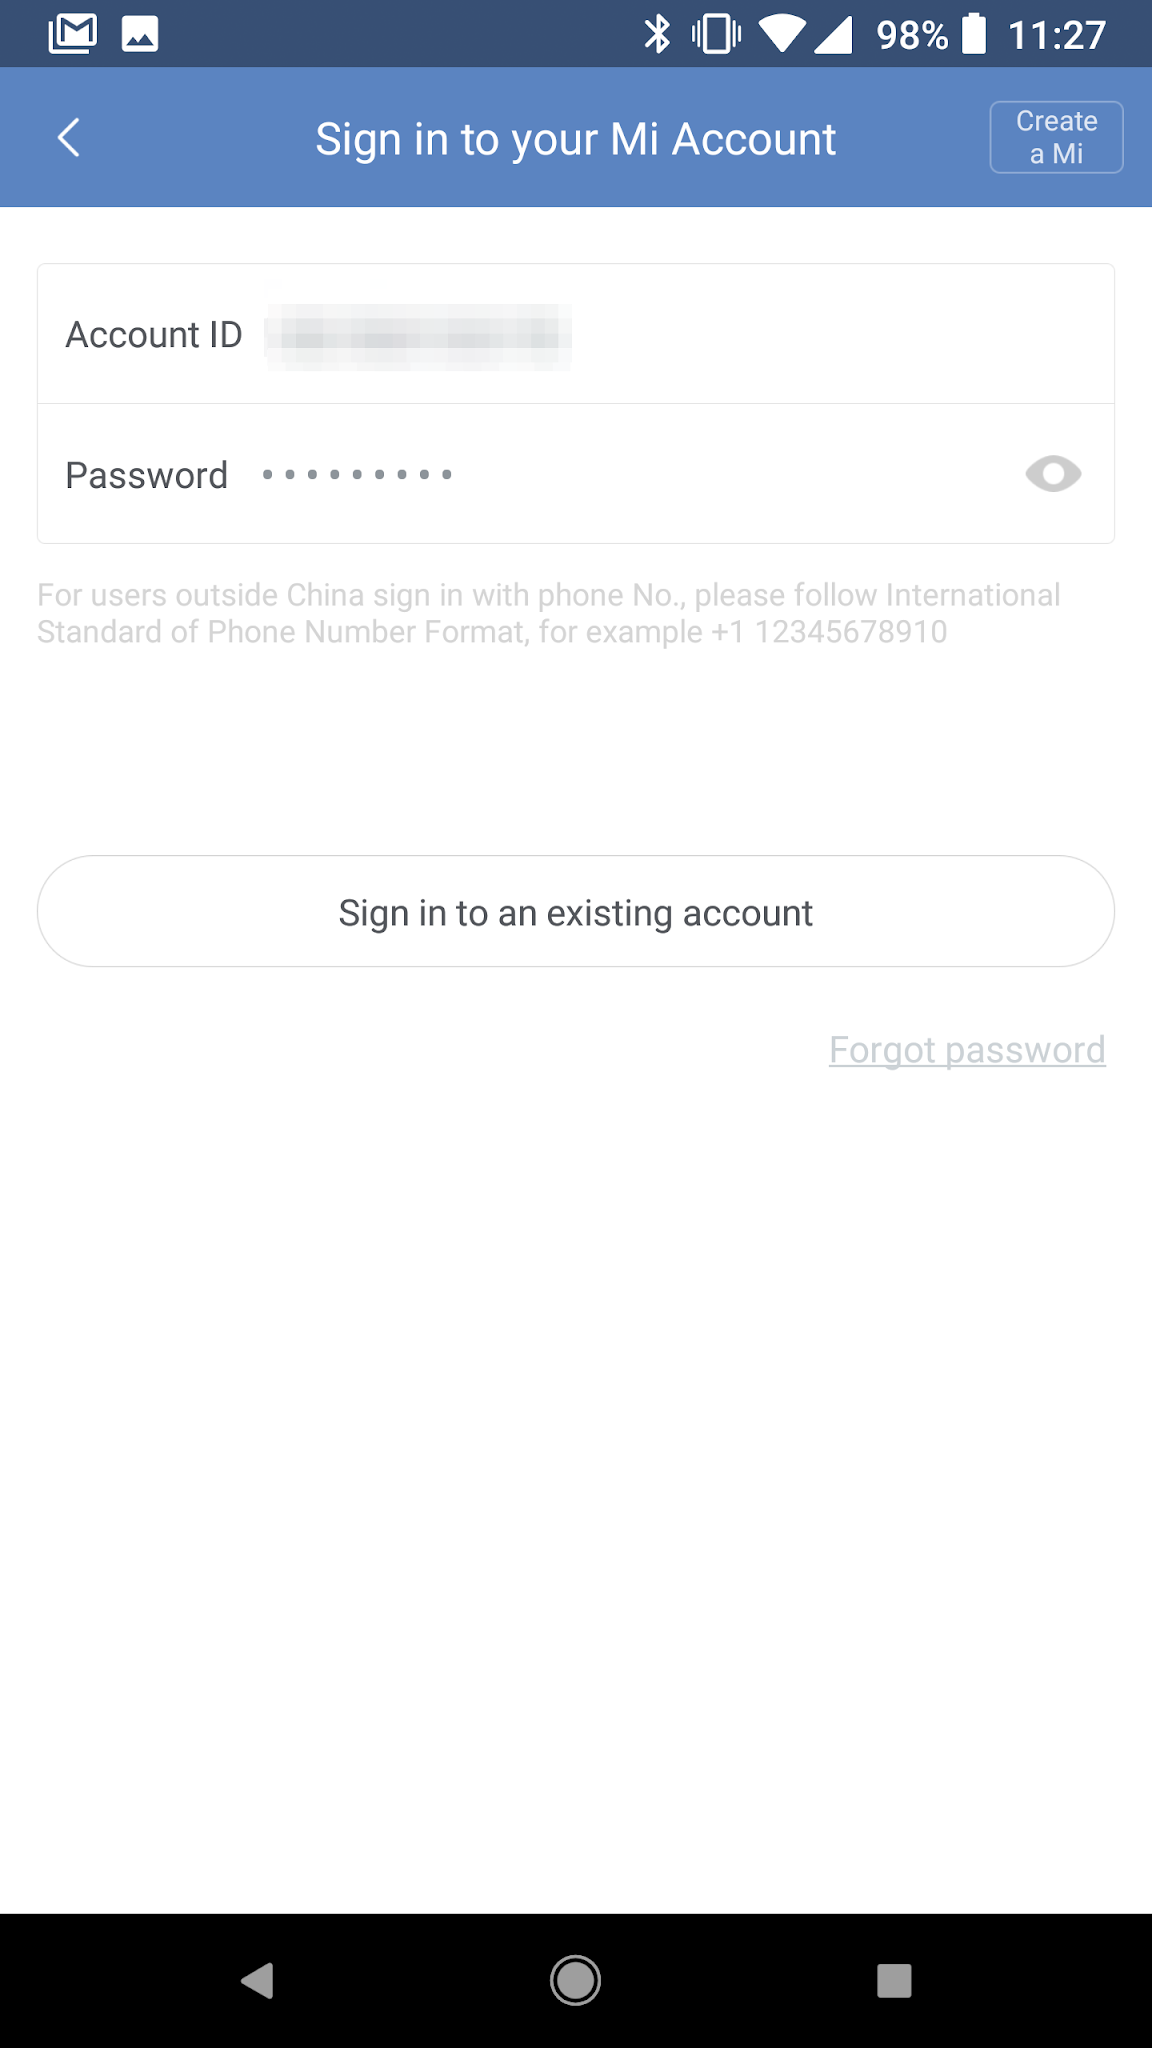 |
|---|
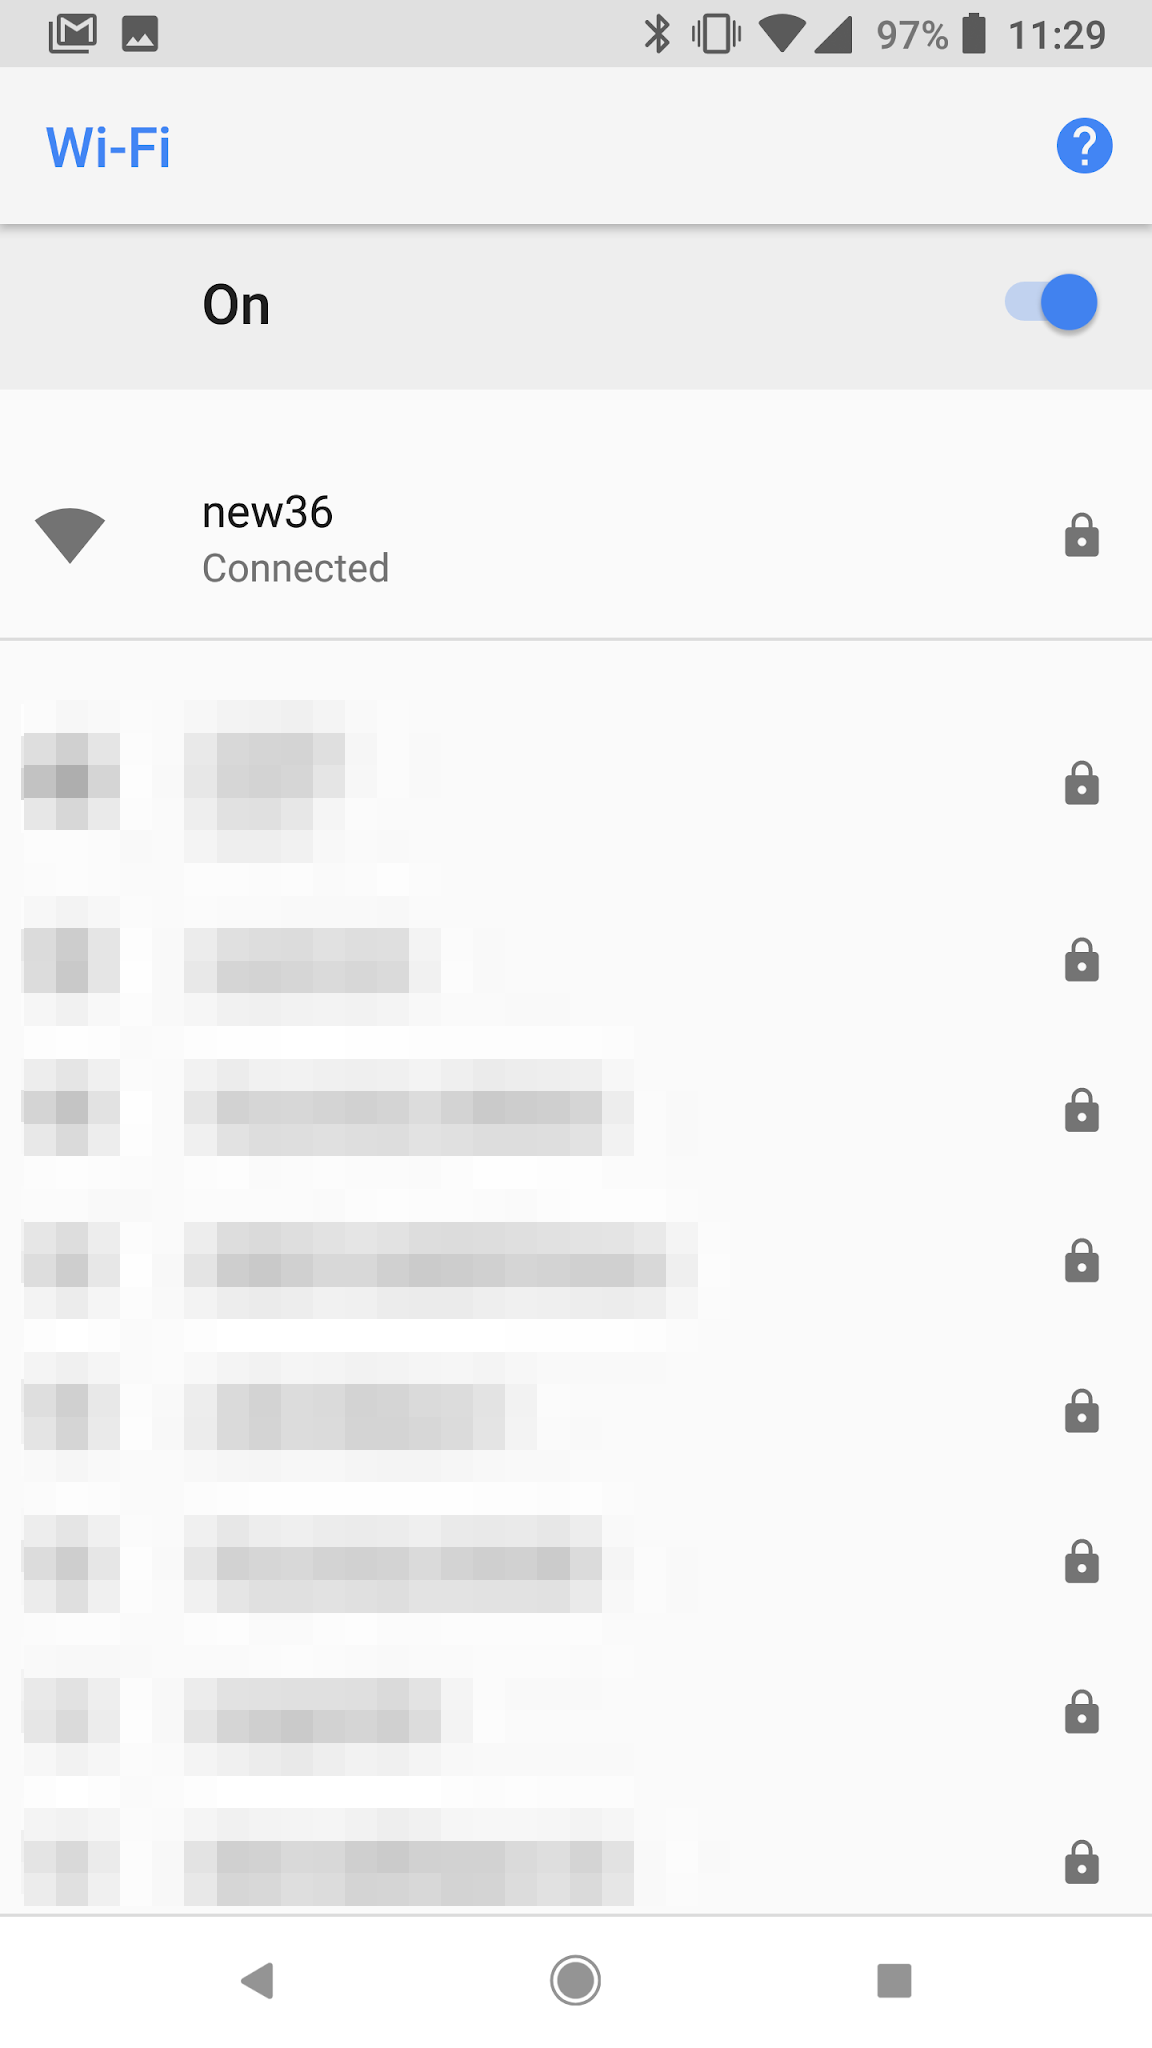
Connect to the just created WiFi network on the router through the system preferences of the mobile phone:
After successfully connecting to the new WiFi network return to the Mi WiFi app and finish the pairing process. During the pairing enter the admin password of the router - which should be the same as the WiFi password.
 | 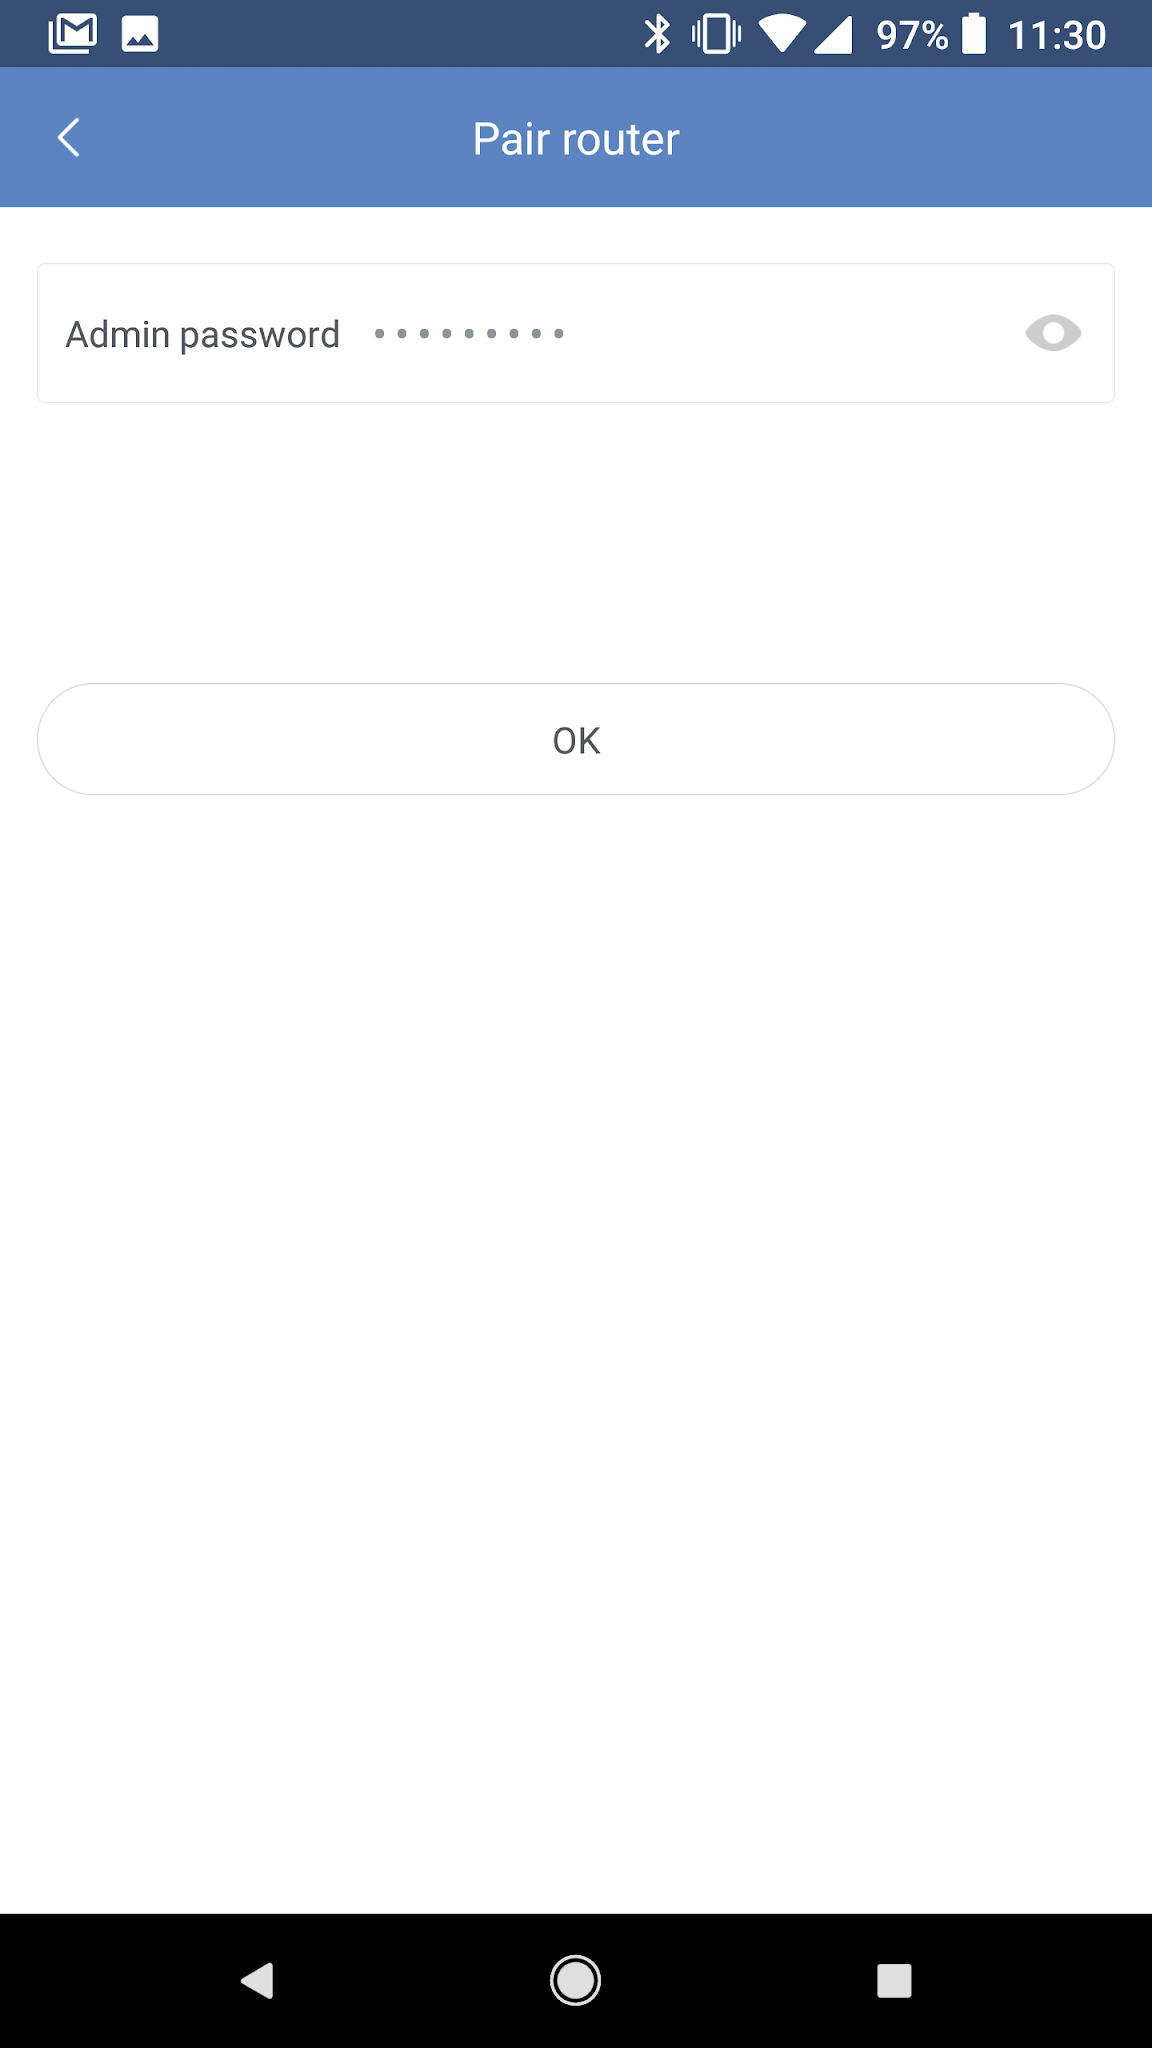 | 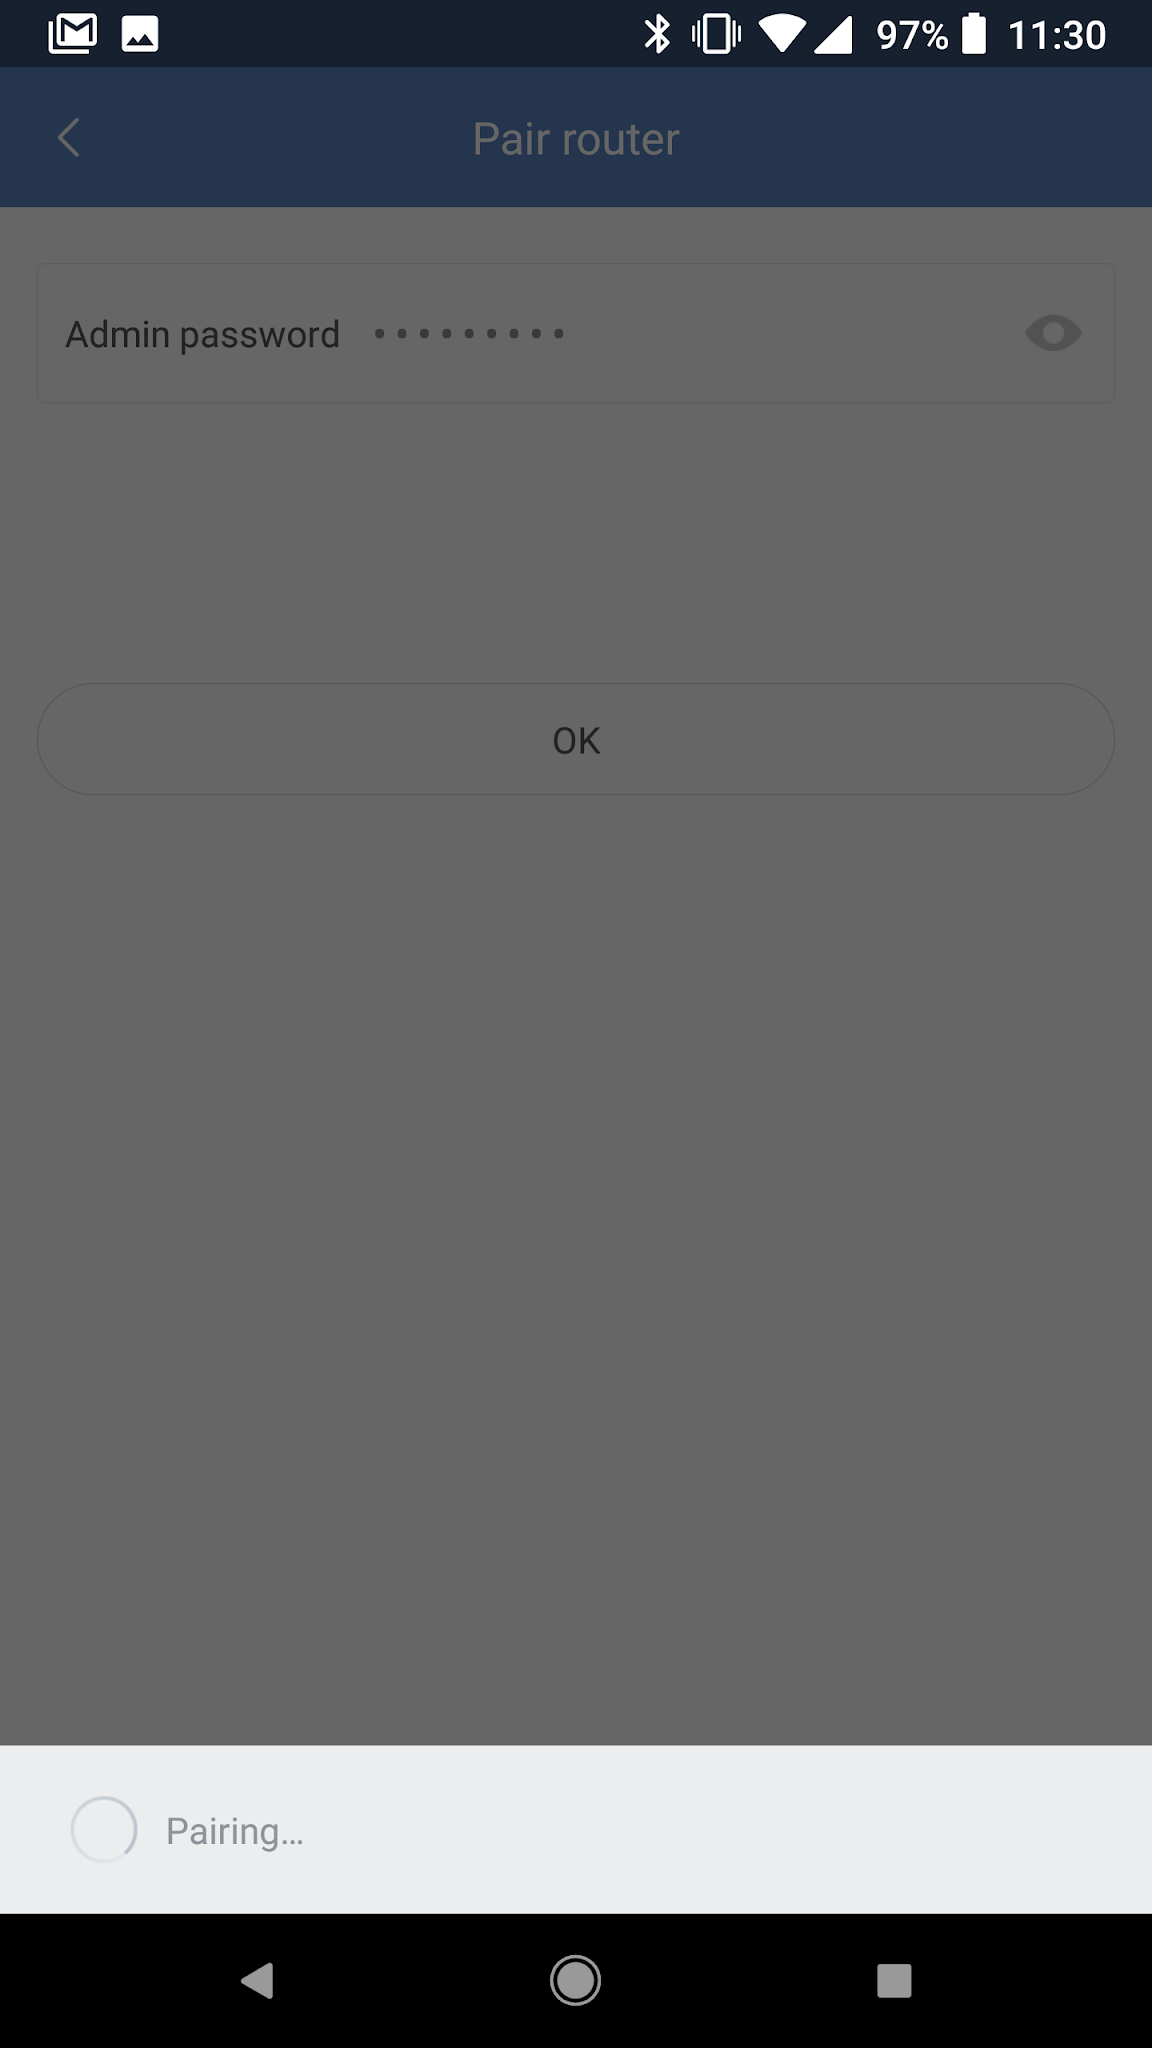 |
|---|
Now the router is paired and connected to the Xiaomi account.
# Get root password for your router and install SSH
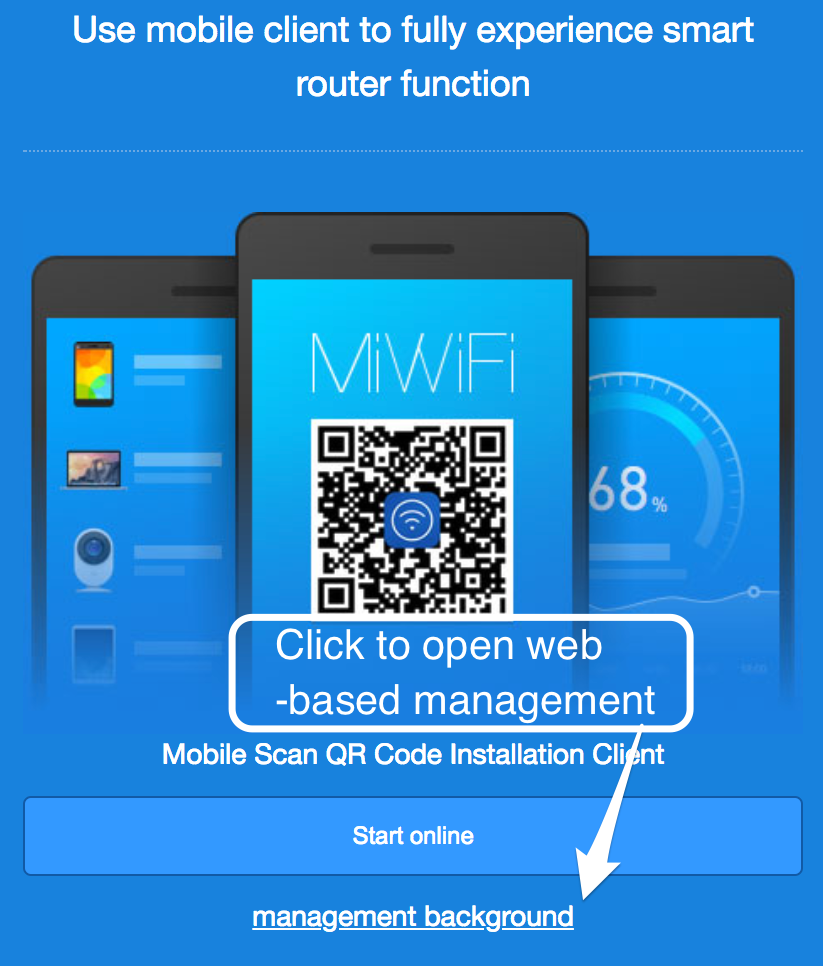
Navigate to Xiaomi MiWiFi support site and login with your Xiaomi account.
WARNING
In every step the server will rewrite the URL back to '''http://....''' and fail to load the page. Edit the URL in the location bar to read '''https://...'''
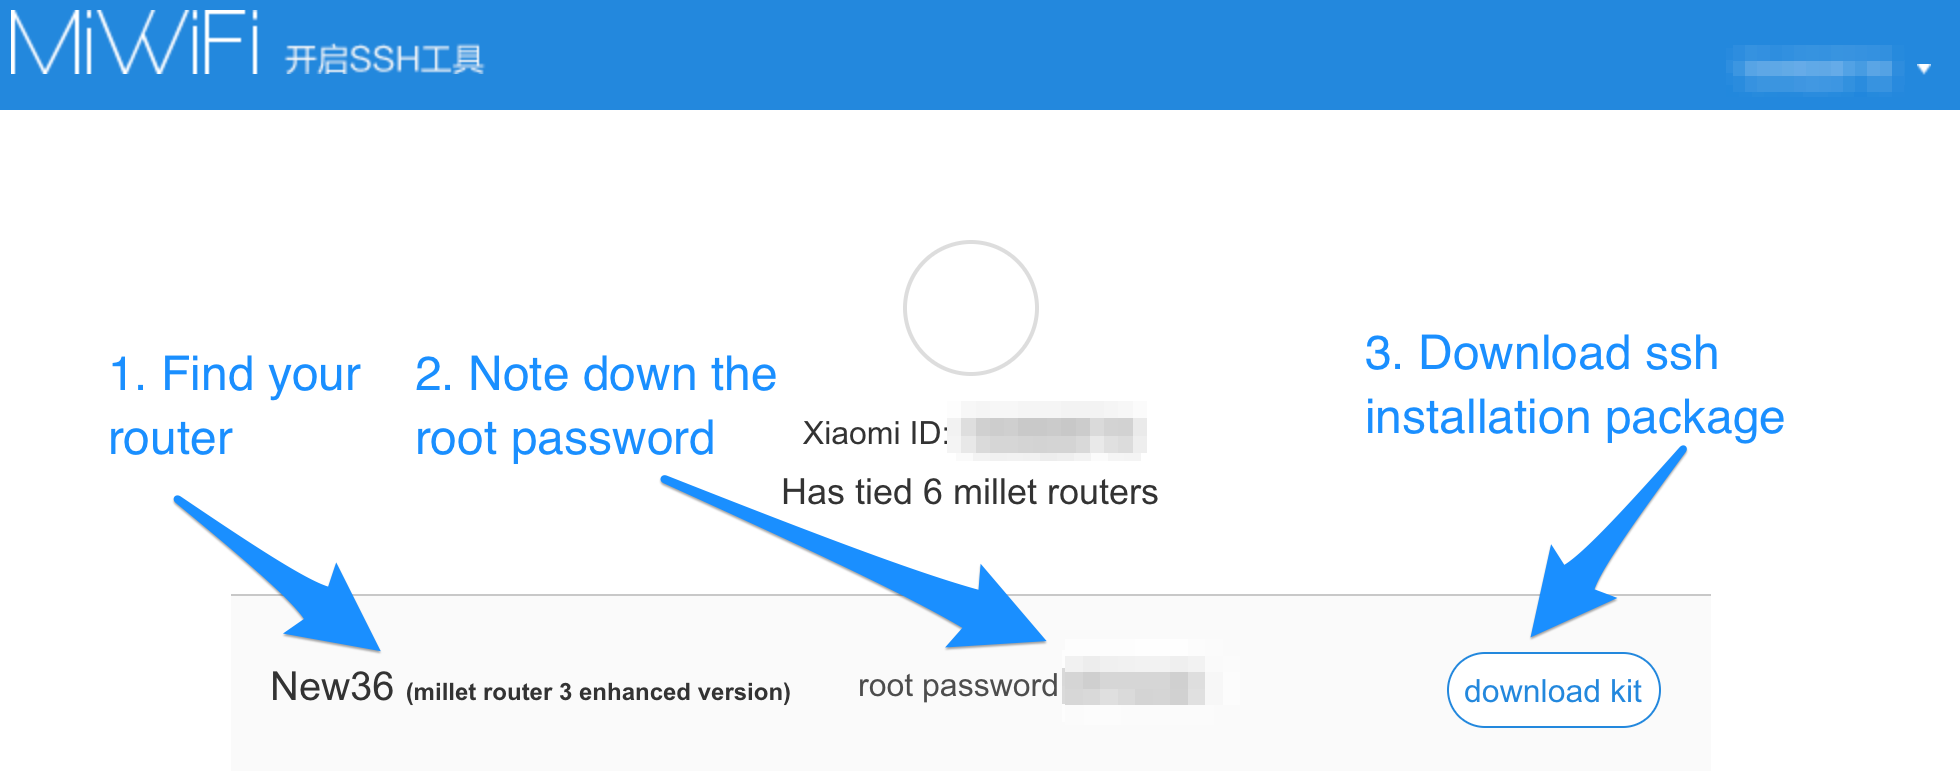
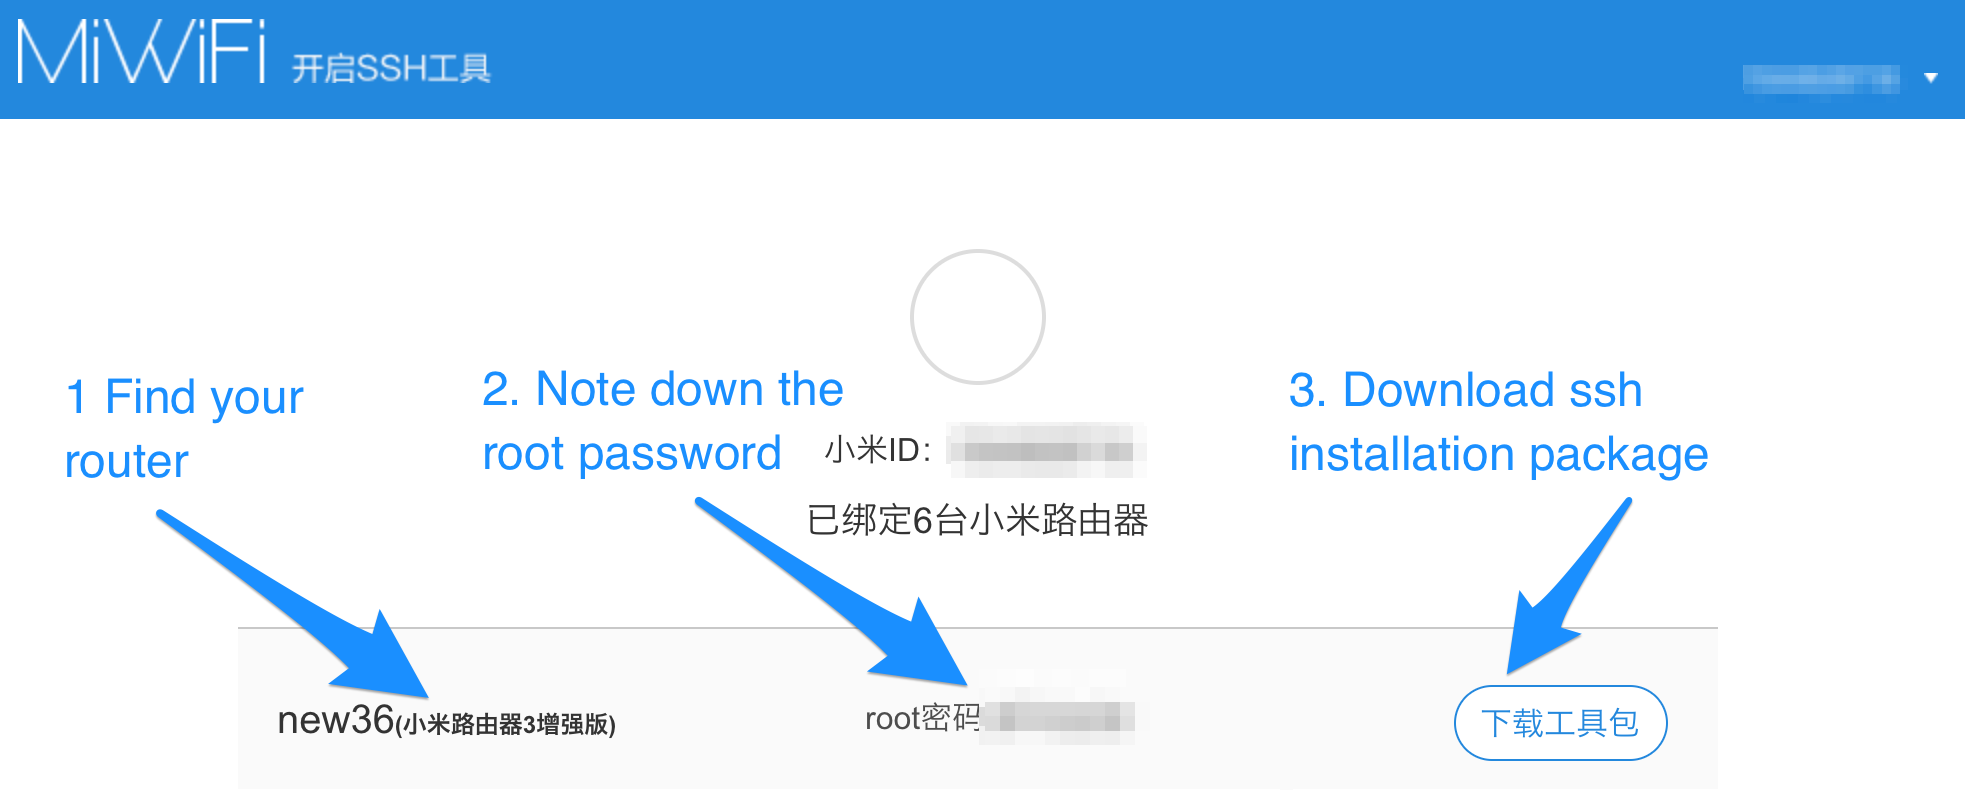
Click the button to the right and download the ssh installation package miwifi_ssh.bin.
Download the OpenWrt firmware files (updated links on 20200725 to latest stable release - did not try fresh install procedure with this specific version of OpenWRT)
Snapshot Download - As of this writing in July 2020, the OpenWRT development snapshots for this device include Linux kernel 5.4 which subjectively have increased the stability of the 2.4 GHz WiFi experience so these are provided as an alternative to the above stable release. Do not mix files between stable and snapshot.
Might brick device
As always with development snapshots that are generated nighly, there is the risk that this specific one might brick your device or be unstable in any other way. If you do not understand what exactly you are doing please read up in the OpenWRT documentation about snapshots and stability. Installing snapshots might not be for you.
Place miwifi_ssh.bin, kernel1.bin and rootfs0.bin on the FAT formatted USB flash drive after removing the developer firmware installation file, i.e. the miwifi.bin from earlier.
Plug the USB flash drive into the router, hold the reset button pressed, and power the router up.
When the yellow LED starts blinking, the flashing process has started and the reset button can be released. This will install and ssh daemon to allow remote access through ssh.
The router will reboot after installing the ssh package. Once back up the LED will turn into solid blue.
# Install OpenWrt
From a terminal connect to the router with SSH:
ssh -l root 192.168.31.1
Use the router admin password for login.
In the console type:
cd /extdisks/sda1 #can be different if you remove and reinsert the USB flash drive
mtd write openwrt-ramips-mt7621-mir3g-squashfs-kernel1.bin kernel1
mtd write openwrt-ramips-mt7621-mir3g-squashfs-rootfs0.bin rootfs0
nvram set flag_try_sys1_failed=1
nvram commit
reboot
The router will reboot, once back up the LED will turn into solid blue.
# Install OpenWrt Webfrontend
Installed in 19.07.3 Release
This step is not needed when installing stable only when installing a snapshot.
The OpenWrt installation will have no WiFi configured so the only way to connect is through the white Ethernet ports of the router.
Reconfigure the interface on the machine connecting to the router to use DHCP. The computer will receive an IP address from the 192.168.1.0/24 range.
Connect to the router through ssh
ssh -l root 192.168.1.1
On the router issue
opkg update
opkg install luci-ssl
reboot
The router will reboot, once back up the LED will turn into solid blue and you can connect to the web-frontend